
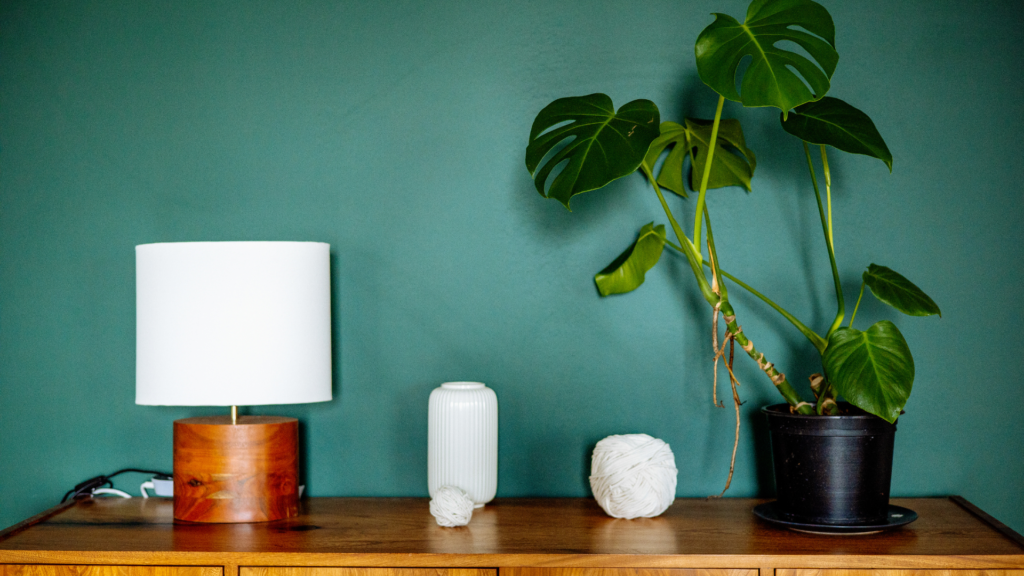
Decorative planters can enhance any space, providing a touch of nature and style. Making your own decorative planters allows for personal expression while being budget-friendly and environmentally conscious. With various materials and designs to choose from, creating unique planters can be a rewarding DIY project.
The process of crafting these planters is straightforward, requiring minimal tools and supplies. From repurposing old containers to using natural elements like wood and clay, individuals can tailor their planters to fit their home decor and personal style. Engaging in this project not only beautifies a space but also offers a chance to connect with the art of gardening.
Whether someone is an experienced gardener or a novice, making decorative planters can be an enjoyable and fulfilling experience. This guide will provide step-by-step instructions and creative ideas to inspire anyone looking to enhance their living area with handcrafted planters.
Understanding the Basics of DIY Planters
Creating decorative planters can enhance any space, whether indoors or outdoors. This process involves selecting the type of planter, gathering materials and tools, and recognizing the benefits of making DIY planters.
Types of Planters
There are various types of planters suitable for different settings. Cement planters provide a modern and durable option, ideal for outdoor use. They can withstand weather conditions and offer a sleek aesthetic.
For a more colorful option, ceramic pots create a vibrant atmosphere. They are perfect for indoor settings. Indoor planters can include hanging baskets, allowing for space-saving solutions.
For those seeking a rustic look, wooden planters offer warmth and a natural appeal. Regardless of material, each type can be customized to suit personal style while functionally supporting different plants.
Materials and Tools
The choice of materials is crucial in DIY planter projects. Common materials include cement, wood, and plastic. Cement requires mixing with water and molds, making it ideal for sturdy outdoor planters. Wood, on the other hand, can be cut and assembled easily for various shapes.
Tools typically needed are a saw, drill, and paintbrush. Safety equipment like gloves and goggles is essential to ensure safety during construction. Additionally, potting soil and appropriate drainage materials are necessary for healthy plant growth.
Benefits of DIY Planters
Creating DIY planters allows for personalization and creativity. Individuals can choose colors, shapes, and sizes that match their decor or garden theme.
Cost savings are another advantage. Making planters at home can often be more affordable than purchasing ready-made options. There’s also the satisfaction that comes from crafting something unique and functional.
DIY planters can enhance plant health when designed with proper drainage. This practice can improve air circulation for roots, benefiting various types of plants, whether indoors or on patios.
Designing Your Planters
Designing decorative planters involves thoughtful consideration of size, shape, and style. Functional elements such as drainage must also be integrated into the design. Here are key aspects to focus on for effective planter design.
Choosing the Right Size and Shape
Size and shape are crucial in planter design. A small succulent planter might work well for desktop use, while larger planter boxes serve outdoor gardens effectively. Consider the space available and the type of plants to be housed.
For example, a rectangular planter can be a great choice for a row of herbs, while a round planter may suit a more compact arrangement of flowers.
Tip: Always account for the plant’s mature size to avoid overcrowding.
Creative Themes and Styles
Creative themes elevate planter design. From rustic wooden planters to modern concrete styles, the materials chosen impact the aesthetic. Each theme can tell a different story about the plants showcased.
For a bohemian feel, consider using hanging planters made of macramé or colorful ceramics. If aiming for a minimalist style, opt for sleek, monochromatic designs.
Ideas for Themes:
- Rustic: Use reclaimed wood for an earthy look.
- Modern: Choose geometric shapes and neutral colors.
- Whimsical: Incorporate playful colors and unique shapes.
Drainage Considerations and Functional Details
Proper drainage is essential for healthy plants and the longevity of DIY planters. Choosing the right containers and materials helps ensure that water moves through the soil efficiently, supporting plant growth and preventing root stress.
For indoor planters, including drainage holes at the bottom is key to preventing water buildup. Hanging or repurposed containers should be made from materials that allow excess water to escape, such as lightweight plastics, ceramic pots, or woven baskets lined to permit seepage. Using a saucer or tray underneath protects surfaces while still enabling proper drainage.
But that is not the case with outdoor planters, which face challenges such as heavy rain, uneven terrain, and soil compaction. Proper drainage is essential to prevent water from pooling at the base, which can harm roots or attract pests. Solutions include raising planters on stands, adding a layer of gravel at the bottom, or using well-draining soil mixes. For larger setups or persistent drainage issues, companies that fix drainage can provide assessments and tailored solutions to keep water flowing safely away from plants. These measures help maintain healthy, thriving outdoor plantings.
Functional Features to Consider:
- Self-Watering Mechanisms: These can be useful for busy plant owners.
- Tray Options: Include trays to catch drips and keep surfaces clean.
By planning for drainage carefully, your planters will support healthy plant growth while maintaining their appearance and functionality over time.
Step-by-Step Crafting Techniques
Crafting decorative planters can be an enjoyable DIY project. There are various methods to create unique pieces using materials like wood, concrete, or upcycled items.
Building a Wooden Planter Box
To build a wooden planter box, start by gathering materials such as untreated lumber, screws, and wood glue. Cut the wood into six pieces: four sides, a bottom, and a top. Ensure measurements are consistent, typically around 24 inches long and 12 inches wide.
Assemble the sides first using wood glue and screws. Attach the bottom piece next, ensuring it is securely fastened. Sand the surfaces to prevent splinters. Optionally, apply a wood stain or sealant for protection. Drill small drainage holes in the bottom to allow excess water to escape, ensuring healthier plants.
Creating Concrete Planters
Creating concrete planters involves using a mix of concrete and molds. Begin by choosing a mold; common options include plastic containers or silicone molds. Prepare the concrete mix according to package instructions, maintaining a consistency similar to thick pancake batter.
Pour the concrete into the chosen mold. Use a stick to poke out air bubbles. After filling, insert a smaller container to create a cavity for the plant. Allow the concrete to set for 24 to 48 hours. Once fully cured, demold and sand any rough edges. Finish with paint or sealant for additional aesthetics.
Assembling a Hanging Planter
For a hanging planter, select a sturdy container, like a mason jar or tin can. Start by drilling holes in the bottom for drainage. Next, use thick twine or rope to create a hanging mechanism. Cut lengths of twine and tie knots around the container for support.
To enhance appearance, consider painting the container first. Fill with potting soil and choose suitable plants that thrive in hanging arrangements. Regularly check the moisture level and ensure adequate sunlight. This type of planter adds vertical interest to any space.
Upcycling Items into Planters
Upcycling items into planters offers a sustainable approach. Common materials include old boots, tin cans, and wooden crates. Clean the chosen item thoroughly and, if necessary, drill drainage holes.
For a tin can planter, paint or decorate the exterior for a personalized touch. For boots, ensure any lining is removed to allow for drainage. Fill with potting soil and plant selections suited for the size and depth of the upcycled material. This method not only saves money but also gives a unique character to indoor and outdoor spaces.
Finishing Touches and Decoration
Adding finishing touches transforms a basic planter into a unique decorative piece. This section focuses on painting techniques, accessorizing options, and proper care for DIY planters to enhance their appearance and longevity.
Painting and Customization Techniques
Creative painting techniques can elevate a DIY planter’s aesthetic. Paint pouring creates stunning gradient effects. It involves mixing multiple paint colors and allowing them to flow over the planter surface, resulting in a unique look.
For those wanting more control, brush techniques work well. Using a sponge or brush, one can create patterns or textures that add interest. Applying multiple layers can achieve depth, especially on glass planters or pallet planters.
In addition to paint, consider using stencils for intricate designs. This method can personalize a planter further, making it stand out. Modern DIY planters can showcase vibrant colors that attract attention or subtle tones that blend with the surroundings.
Accessorizing Your Planters
Accessorizing makes planters visually appealing and functional. Using a plant stand can elevate a planter, creating a tiered display. This arrangement highlights different plants while saving space.
Consider adding decorative elements like stones, moss, or string lights. These materials can enhance the planter’s appearance while providing a natural touch. For urban settings, a vertical wall planter is a creative idea, utilizing wall space and adding dimension.
Additionally, incorporate unique pots made from items like protein powder tubs. These upcycled containers can be painted and decorated, offering a sustainable twist. Creative DIY planter ideas can include adding small figurines or themed decorations to personalize the design.
Caring for Your DIY Planters
Caring for DIY planters ensures they remain attractive. Regular maintenance is essential to preserve both aesthetics and function. Ensure proper drainage to prevent water retention, which can damage the plants and containers.
Routine cleaning of the planter surface helps maintain its look. Gently wipe down painted or decorated surfaces with a damp cloth. For planters exposed to outdoor elements, consider using a protective sealant. This layer safeguards against UV damage, especially for painted planters displayed outside.
Regularly changing the plant soil also promotes healthy growth. This practice can enhance the overall appearance of the planter, ensuring it remains a beautiful focal point in any space. Proper care maximizes the lifespan of creative DIY planters while keeping them looking fresh and vibrant.