
A weekly home cleaning checklist helps maintain a clean and organized living space without feeling overwhelming. By breaking tasks into manageable steps, you ensure every area gets attention regularly, preventing dirt and clutter buildup.
This approach saves time and energy by focusing on key chores like dusting, vacuuming, and sanitizing high-touch surfaces. Sticking to a routine creates a smoother cleaning process, making your home more comfortable and healthier.
Why a Home Cleaning Checklist is Essential
A home cleaning checklist organizes tasks clearly and ensures no area is overlooked. It provides structure, allowing you to balance cleaning duties efficiently.
Benefits of Weekly Cleaning
Weekly cleaning removes dirt and allergens before they accumulate. This maintains healthier indoor air quality, reducing risks like allergies and respiratory issues.
Regular cleaning preserves surfaces and furnishings, extending their lifespan. This helps avoid costly repairs or replacements caused by neglect.
A weekly routine also prevents overwhelming messes. Small, consistent efforts keep your home tidy and easier to manage.
How Checklists Improve Cleaning Efficiency
Checklists break down cleaning into manageable tasks. This prevents wasting time on guesswork or repetitive work.
By listing priority areas, checklists ensure high-use rooms, like kitchens and bathrooms, get focused attention. This targets the most critical cleaning spots regularly.
Tracking completed tasks provides a clear sense of progress. It also highlights what needs extra attention in future sessions.
Reducing Stress with a Structured Routine
A checklist reduces mental load by clarifying what needs to be done and when. This prevents last-minute rushes or forgotten chores.
Having a set plan boosts motivation and consistency in cleaning habits. You can allocate specific times without feeling overwhelmed.
This structure supports a cleaner, more organized home environment, enhancing comfort and peace of mind.
General Preparations for Weekly Cleaning
Effective weekly cleaning starts with organizing the necessary supplies, clearing clutter, and creating a realistic schedule. These steps set the foundation for an efficient and thorough cleaning session throughout the home.
Supplies and Tools to Gather
Gather all cleaning materials before starting to avoid interruptions. Essential supplies include:
- All-purpose cleaner for surfaces
- Glass cleaner for mirrors and windows
- Disinfectant wipes or spray for high-touch areas
- Microfiber cloths for dusting and wiping
- Vacuum cleaner or broom for floors
- Mop and bucket for hard floors
- Trash bags
- Rubber gloves for protection
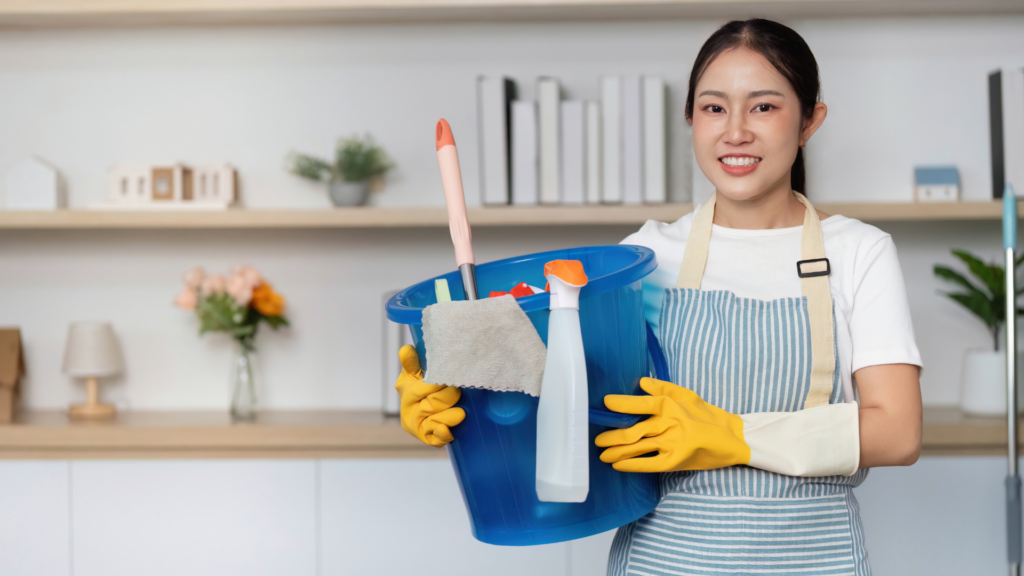
Having everything in one portable caddy or bucket can save time moving between rooms. Check supplies regularly to replace any low or empty items to maintain readiness.
Pre-Cleaning Declutter
Clearing clutter is essential before deep cleaning. Start by collecting items out of place, such as clothes, dishes, and trash. Return belongings to their proper spots for easier surface cleaning.
Focus on counters, tabletops, and floors to maximize your cleaning efficiency. A clean, clutter-free environment minimizes missed spots and speeds up the process. Use baskets or bins to temporarily hold items as you tidy quickly.
Setting a Cleaning Schedule
Create a weekly cleaning schedule to maintain consistency and avoid last-minute tasks. Assign specific days to focus on different areas like bathrooms, kitchen, or living spaces.
Block out 1 to 2 hours, depending on home size and workload. Use calendars or reminder apps for accountability. Adjust the schedule based on household needs, such as adding pet care or laundry days. Sticking to a routine builds good habits and reduces overall cleaning time.
Entryway and Hallways
This area is a transition space that collects dirt and clutter daily. Regular cleaning keeps floors safe and surfaces presentable while maintaining order with shoes and outerwear helps reduce mess.
Sweeping and Mopping Floors
Dirt and debris often enter through the door, making flooring a priority. Begin with sweeping to remove loose dirt, dust, and small particles. Use a broom with firm bristles or a vacuum designed for hard floors.
After sweeping, mop the floors using a cleaner appropriate for the surface, such as wood or tile. Focus on corners and under furniture where dust tends to collect. Avoid excess water on wooden floors to prevent damage.
Dusting Surfaces
Flat surfaces like console tables, baseboards, and window sills gather dust quickly. Use a microfiber cloth to trap dust without scattering it into the air. Wipe in one direction for a thorough clean.
Pay special attention to light switches, door frames, and picture frames. Remove cobwebs from corners and ceiling edges for a complete dust-free space.
Organizing Shoes and Outerwear
Shoes and coats often accumulate here, increasing clutter and mess. Use designated racks or storage bins for shoes to keep them off the floor and easy to access. Group items by type or frequency of use.
Install hooks or a coat rack to hang jackets, hats, and bags neatly. Clear out seasonal items to reduce overcrowding and make the space easier to maintain weekly.
Living Room Weekly Cleaning Tasks
Maintaining a clean living room requires attention to both visible surfaces and hidden dust collectors. Focusing on key high-contact areas ensures a healthier, more comfortable space.
Vacuuming Carpets and Rugs
Thorough vacuuming removes dirt, dust, and allergens trapped in carpets and rugs. Use a vacuum with a HEPA filter for better air quality. Pay special attention to high-traffic areas and edges where debris accumulates.
Move lightweight furniture, if possible, to vacuum underneath and behind. Vacuum in multiple directions to loosen deeply embedded particles. For rugs, shake outside before vacuuming to remove loose dirt.
Empty or replace vacuum bags regularly to maintain suction. If pets are present, use attachments designed to capture hair effectively.
Wiping Down Electronic Devices
Electronics attract dust, fingerprints, and smudges that can reduce performance or appearance. Power off devices like TVs, remotes, gaming consoles, and sound systems before cleaning.
Use a microfiber cloth slightly dampened with water or a screen-safe cleaner. Avoid harsh chemicals that can damage screens or coatings. Wipe screens gently in circular motions.
Don’t forget to clean remote controls, switches, and charging stations. Use cotton swabs to reach crevices. Regular cleaning helps prevent dust buildup that could clog vents or impact cooling.
Dusting Furniture
Dust settles quickly on flat surfaces, creating allergens and dulling finishes. Use a microfiber or electrostatic cloth to trap dust rather than spread it.
Start from higher surfaces like shelves and work downward to avoid recleaning. For wooden furniture, use a suitable polish or cleaner once dust is removed to protect and shine the wood.
Pay attention to decorative items, baseboards, and corners where dust collects. Avoid busy patterns or heavily textured cloths that can scatter dust back into the air.
Kitchen Deep Cleaning Steps
Thorough cleaning of kitchen surfaces, appliances, and waste areas can prevent bacterial growth and keep the space hygienic. Focused attention on these areas improves food safety and maintains the kitchen’s appearance.
Sanitizing Countertops and Backsplashes
Start by removing all items from the countertops. Use a mixture of warm water and a few drops of dish soap to wipe down the surfaces, followed by a disinfectant suitable for your countertop material.
Pay close attention to edges, corners, and grout lines on backsplashes where dirt and bacteria tend to accumulate. Use a soft brush or cloth for scrubbing stubborn spots. Allow disinfectant to sit for the recommended time before wiping dry to ensure effectiveness.
Cleaning Appliances
Unplug small appliances before cleaning. Wipe the exterior with a damp cloth and mild detergent. For the microwave, clean inside with a mixture of water and lemon juice, heating it for a few minutes to loosen grime.
For ovens, use a commercial oven cleaner or a baking soda paste for buildup on racks and interiors. Refrigerators should be emptied, shelves removed, and washed with warm soapy water. Don’t forget to clean door seals to prevent mold.
Emptying Trash and Recycling
Remove trash and recycling daily to avoid odors andbacteriala growth. Clean trash bins with a disinfectant spray or a mixture of vinegar and water monthly to maintain hygiene.
Line bins with appropriate bags to reduce mess. Check for leaks or damage, replacing liners or containers as needed. This step is essential to sustain overall kitchen cleanliness.
Bathroom Weekly Cleaning Routine
Cleaning a bathroom thoroughly involves targeting key surfaces that collect grime and bacteria. Focus on eliminating soap scum, disinfecting high-touch areas, and removing buildup to maintain hygiene and freshness.
Disinfecting Sinks and Countertops
Start by clearing all items from the sink and countertop. Use a disinfectant spray or a mixture of water and bleach to kill germs effectively. Pay special attention to faucet handles, as they accumulate oils and bacteria.
Wipe down all surfaces with a microfiber cloth, ensuring no residue is left behind. For stubborn toothpaste or soap scum, a mild abrasive cleaner can help without damaging surfaces. Drying the area prevents water spots and mold growth.
Regular disinfecting reduces the risk of cross-contamination, especially in shared bathrooms.
Scrubbing Showers and Bathtubs
Spray a bathroom cleaner or a vinegar-based solution over tiles, grout, and tub surfaces. Let the cleaner sit for 5-10 minutes to break down soap scum and mildew.
Use a scrub brush or sponge to scour all surfaces, focusing on grout lines and corners where mold can develop. For tough stains, a paste of baking soda and water can boost cleaning power.
Rinse thoroughly with warm water to remove cleaner and loosened dirt. Dry surfaces with a towel to prevent water stains and mildew growth.
Cleaning Toilets
Begin by applying toilet bowl cleaner under the rim and letting it sit. Scrub with a toilet brush, concentrating on bowl edges and under the rim for full coverage.
Wipe the seat, lid, and exterior surfaces with disinfectant wipes or spray. Don’t forget the flush handle, as it harbors many germs.
Flush to rinse the inside of the bowl. Use a separate cloth for the toilet exterior to avoid cross-contamination. Weekly deep cleaning minimizes bacteria and keeps odors under control.
Bedroom Cleaning Checklist
A clean bedroom promotes better rest and hygiene. Focus on maintaining fresh linens, dust-free surfaces, and clean floors to create a comfortable environment.
Changing Bed Linens
Replace sheets, pillowcases, and blankets weekly to limit allergens and bacteria buildup. Start by removing all used linens before putting on clean ones. Use mattress and pillow protectors to extend the life of bedding and reduce dust mites.
Wash linens in hot water when possible to kill germs. Rotate pillows regularly and air out mattresses to prevent moisture and odors. Folding blankets neatly after washing keeps the bed tidy.
Dusting Nightstands and Surfaces
Wipe nightstands, dressers, and other surfaces with a microfiber cloth to trap dust effectively. Avoid just pushing it around by using a damp cloth or a specific dusting spray for stubborn spots.
Pay attention to corners, behind objects, and underneath lamps where dust tends to accumulate. Dust electronics gently, using compressed air or soft brushes to prevent damage. Clean knobs and handles to reduce dirt buildup.
Vacuuming or Sweeping Floors
Vacuum carpets thoroughly, moving furniture slightly to reach hidden areas. Use attachments to clean baseboards and corners where dust collects. For hardwood or laminate floors, sweep daily and mop weekly to remove dirt and maintain the finish.
Check under the bed for dust, pet hair, or debris, and clean regularly. Use a vacuum or broom, depending on the floor type, to avoid surface damage. This step helps improve air quality and overall bedroom cleanliness.
Laundry Areas and Utility Rooms
Maintaining cleanliness and order in laundry and utility spaces improves efficiency and prevents damage. It involves regular wiping of machines and strategic organization of supplies to keep everything accessible and safe.
Wiping Machines and Surfaces
Clean appliances such as washing machines and dryers weekly to prevent buildup. Use a damp microfiber cloth with a mild detergent to wipe the exterior surfaces, paying close attention to control panels and knobs to avoid residue accumulation.
Inside the washer drum, run a cleaning cycle with white vinegar or a specialized cleaner once a week. Wipe door seals and detergent dispensers to remove lint, detergent, and mold. Dry surfaces thoroughly to prevent moisture damage.
Work surfaces around machines should be cleaned with an all-purpose cleaner. This includes countertops, utility sinks, and shelves where dust and detergent spills can gather.
Organizing Laundry Supplies
Store detergents, fabric softeners, stain removers, and bleach in labeled containers or bins to prevent clutter. Place frequently used items within arm’s reach to save time during laundry tasks.
Use shelves or wall-mounted racks to maximize space and keep chemicals off the floor. Make sure all containers have secure lids to avoid spills and maintain safety.
Keep an inventory sheet nearby to track supplies, reducing overbuying or running out unexpectedly. Group items by type or purpose for quick and efficient access during laundry routines.
Maintaining Outdoor Entry Points
Keeping outdoor entry points clean helps prevent dirt and germs from entering the home. Regular attention to surfaces like porches, steps, and door handles improves both safety and hygiene.
Sweeping Porches and Steps
Porches and steps collect leaves, dirt, and debris quickly. Sweeping these areas at least once a week removes hazards like slippery leaves and prevents buildup that can damage surfaces over time.
Use a broom with stiff bristles designed for outdoor use. Focus on corners and edges where debris tends to accumulate. Pay extra attention to steps since dirt and moisture here can increase the risk of slips and falls.
For paved or concrete areas, consider occasional pressure washing to remove stains and moss. This is especially important in damp or shaded locations where surface grime can build up more easily.
Wiping Door Handles
Door handles are high-touch points that can harbor germs and dirt. Wiping them with a disinfectant weekly reduces the risk of spreading bacteria and viruses.
Use a clean cloth or a disposable wipe soaked with an appropriate cleaner. Focus on all sides of the handle, including the keyhole or lock mechanism if accessible.
If handles are metal, avoid harsh chemicals that may corrode the finish. A mild disinfectant or a mix of water and isopropyl alcohol works well without damaging the surface.
Final Weekly Review and Checklist Completion
Completing a weekly cleaning checklist requires careful attention to detail and organization. Ensuring no areas are overlooked and supplies are replenished, is essential for maintaining a clean home efficiently.
Double-Checking Missed Spots
Revisit commonly missed areas such as under furniture, behind doors, and around baseboards. Use a flashlight if necessary to spot dust or debris that may be hidden in shadows.
Pay close attention to high-touch surfaces like light switches, door handles, and remote controls. These spots often harbor germs and can be skipped unintentionally during routine cleaning.
Create a quick checklist of these high-priority missed spots and mark each off as you inspect. This practice reduces the chance of leaving problem areas unaddressed.
Restocking Cleaning Supplies
Check all essential cleaning products such as disinfectants, glass cleaners, and floor solutions. Replace any items that are running low to avoid interruptions in your cleaning routine.
Keep extra sponges, microfiber cloths, and trash bags on hand. These supplies tend to deplete faster and are crucial for maintaining cleaning efficiency.
Organize your supplies in a dedicated space. Label shelves or containers clearly to make restocking easier and more systematic for future weeks.